



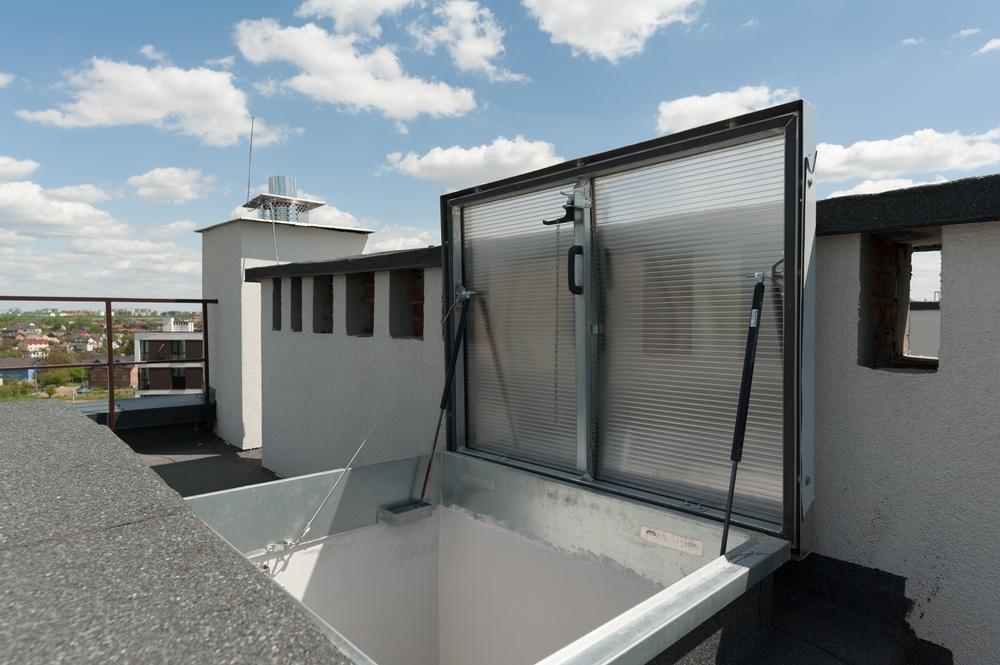
A commercial roof hatch protects the building interior from rain, wind, dust, and outdoor debris. Its seal sits along the hatch frame and blocks water from entering the opening. Regular inspections help spot cracks, gaps, loose sections, and other signs of wear before they lead to costly repairs. A simple inspection routine keeps the roof hatch in good condition and supports reliable protection during changing weather.
Check the seal condition
Start by opening the roof hatch and examining the full seal around the frame. Look for cracks, cuts, tears, flattened areas, or sections that pull away from the frame. Run your fingers gently along the seal to check for unusual stiffness or soft spots. A healthy seal stays evenly shaped around the entire opening.
Remove dirt and debris
Dust, leaves, small stones, and other debris may collect around the hatch frame. Remove these materials with a soft brush or clean cloth. Wipe the seal gently so dirt does not hide small defects. Clean surfaces also give you a clearer view during the inspection.
Inspect the hatch frame
Examine the metal frame around the seal for rust, dents, bends, or loose fasteners. Check the corners closely because damage in these areas may leave small gaps. Ensure the frame sits evenly and shows no signs of movement. A damaged frame may place extra pressure on the seal.
Check for gaps
Close the hatch slowly and inspect the contact between the lid and seal. Look for visible gaps around the edges. The seal should meet the hatch lid evenly when the hatch closes. Uneven contact may point to worn sealing material, frame damage, or an alignment issue.
Look for water signs
Inspect the area around the hatch from inside the building. Look for water stains, damp spots, peeling paint, or marks on nearby surfaces. These signs may point to a sealing problem. After heavy rain, check the area again and compare it with earlier inspections.
Inspect the hardware
Check hinges, latches, handles, and fasteners for loose or damaged parts. Test the latch to confirm that it closes the lid firmly against the seal. Loose hardware may prevent proper contact and allow water or air to enter.
Record and fix problems
Write down any cracks, gaps, stains, or hardware issues you find. Take clear photos so you can compare the seal during future inspections. Replace damaged sealing material and repair frame or hardware problems promptly. Schedule professional service when the damage extends beyond simple maintenance.

